Quick Start
Get TalePal running in under 5 minutes.
1. Install the extension
Search for "TalePal" in the VS Code Extensions panel (Cmd+Shift+X / Ctrl+Shift+X) and click Install. Or install directly from the VS Code Marketplace.
After installation, click the TalePal icon in the activity bar (left sidebar).
Beta testers: If you received a
.vsixfile, install it viaExtensions → ... → Install from VSIX.
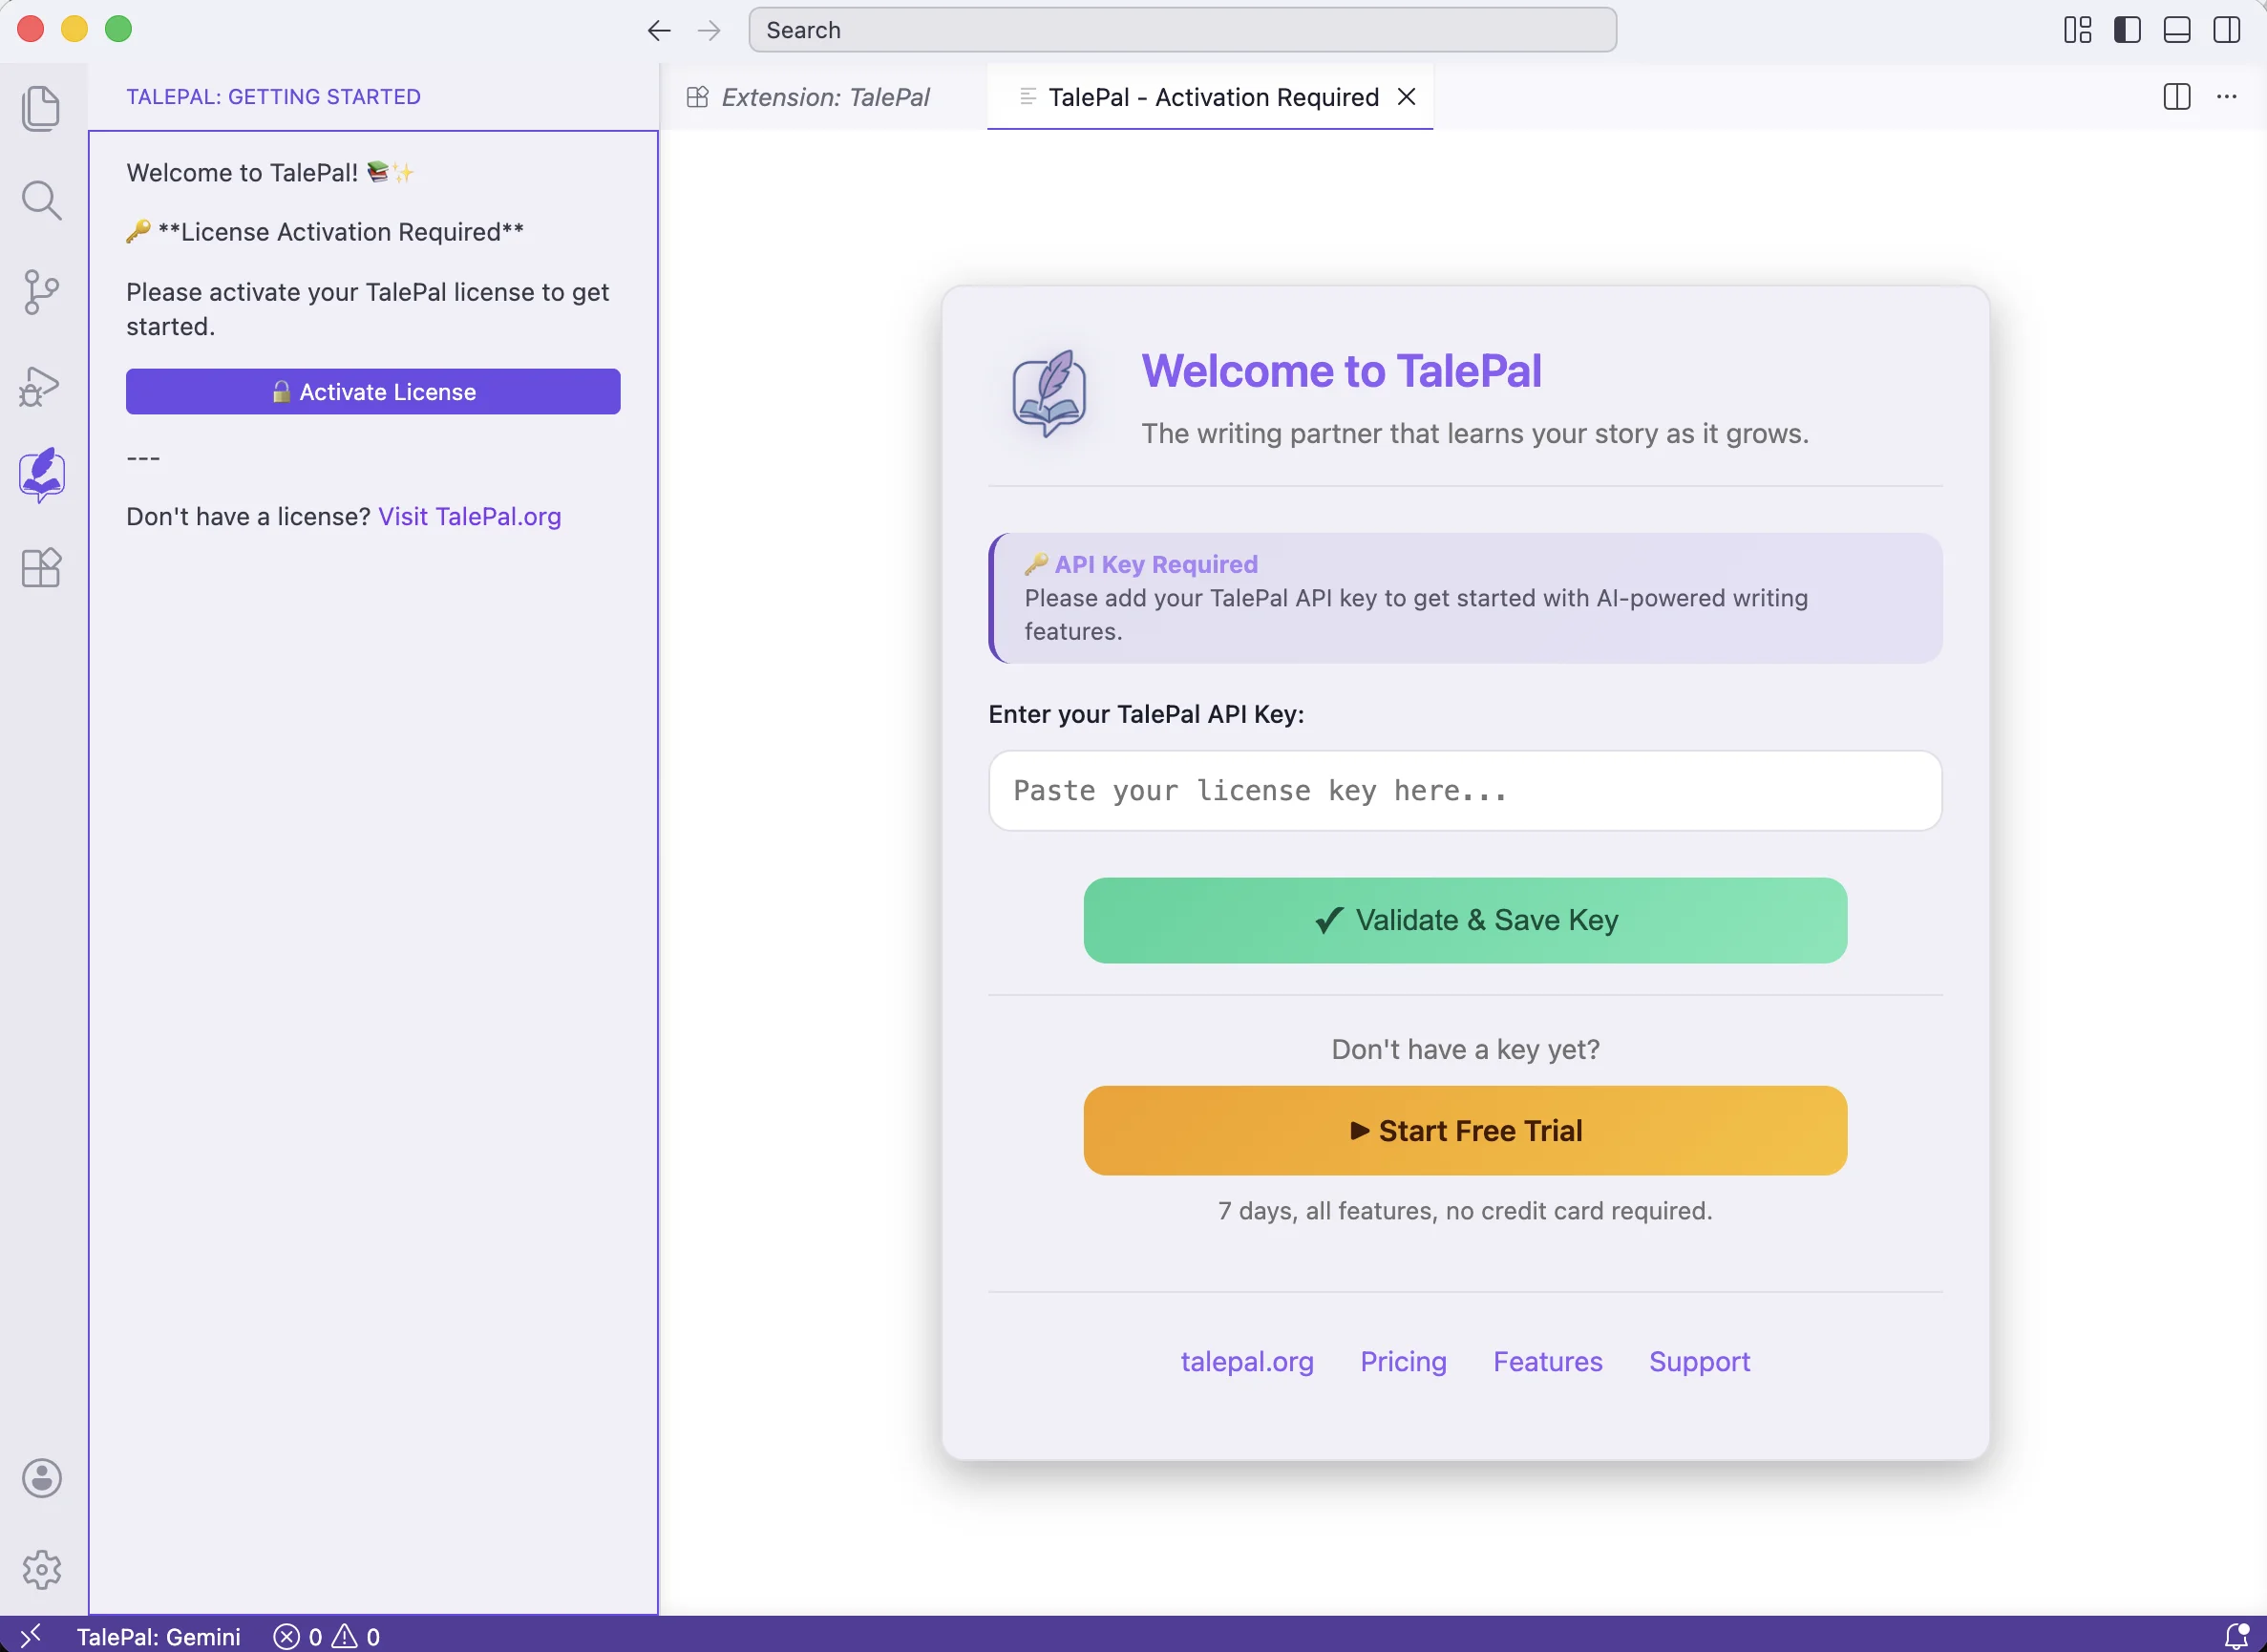
2. Activate your license
The activation screen appears automatically. Paste your TalePal API key and click Validate & Save Key.
Once validated, you'll see a success confirmation with options to create a workspace or view your license details.
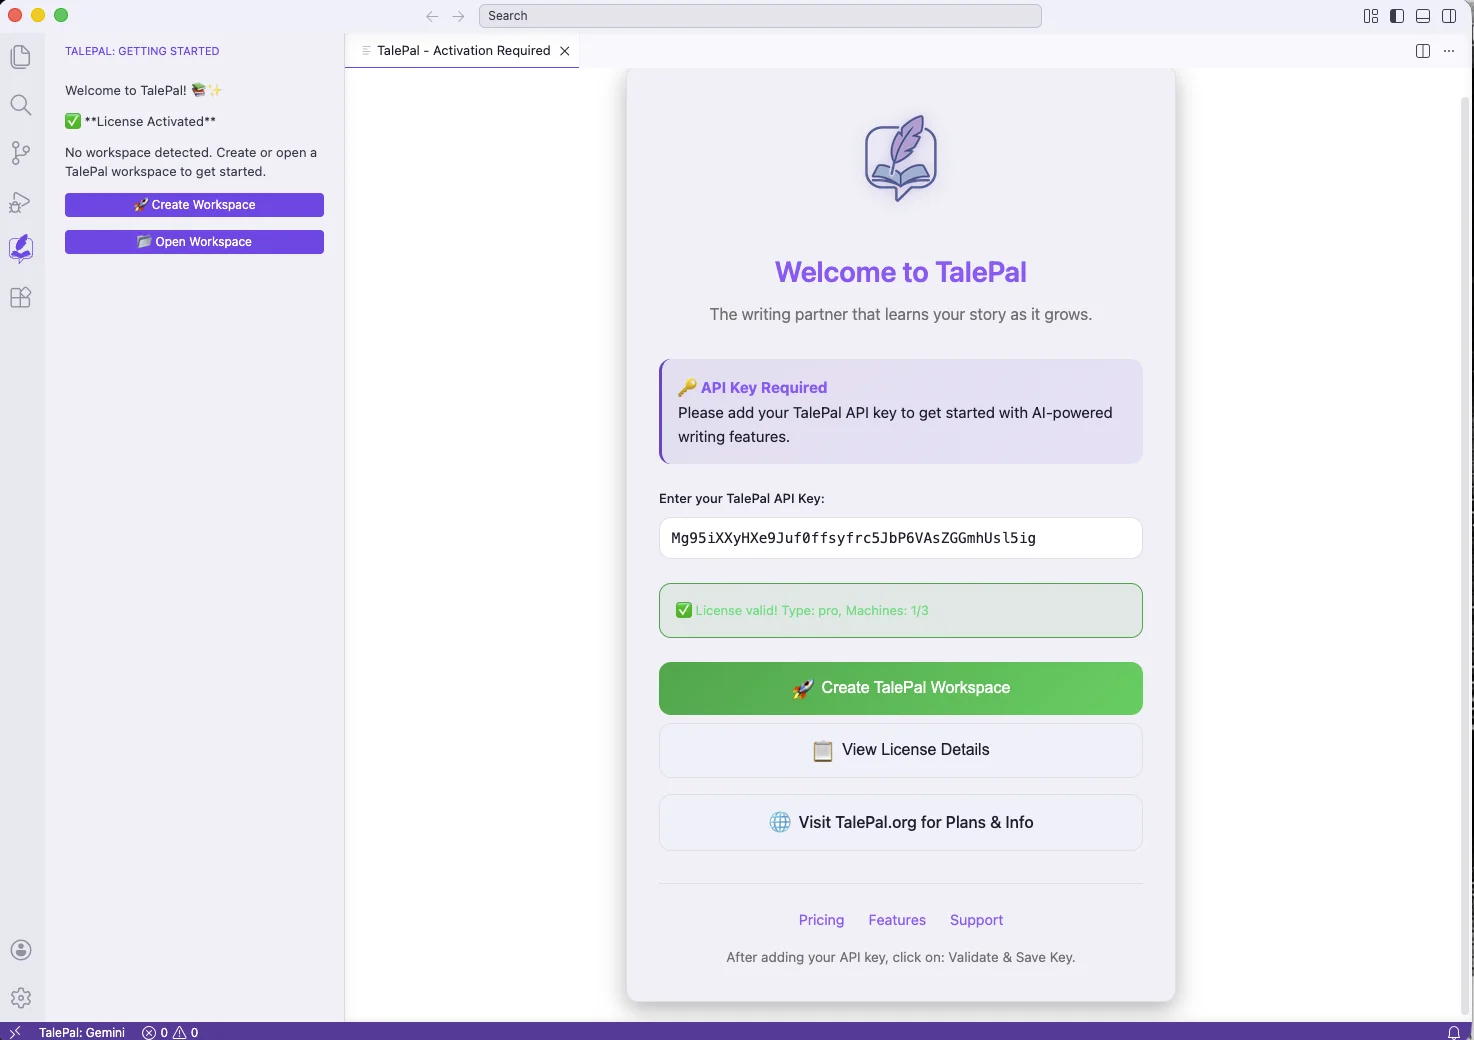
Don't have a key yet? Visit talepal.org/purchase to get one.
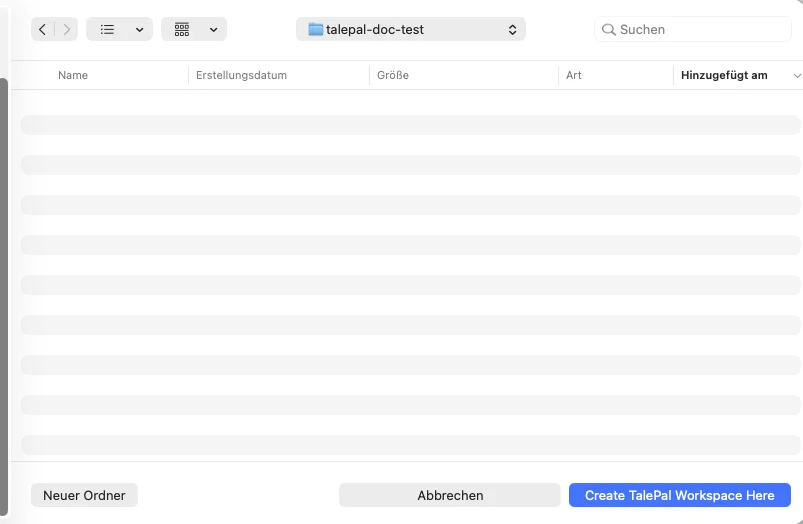
3. Create a workspace
Click Create TalePal Workspace (from the activation screen or via the command palette: TalePal: Create Workspace). Pick an empty folder for your project.
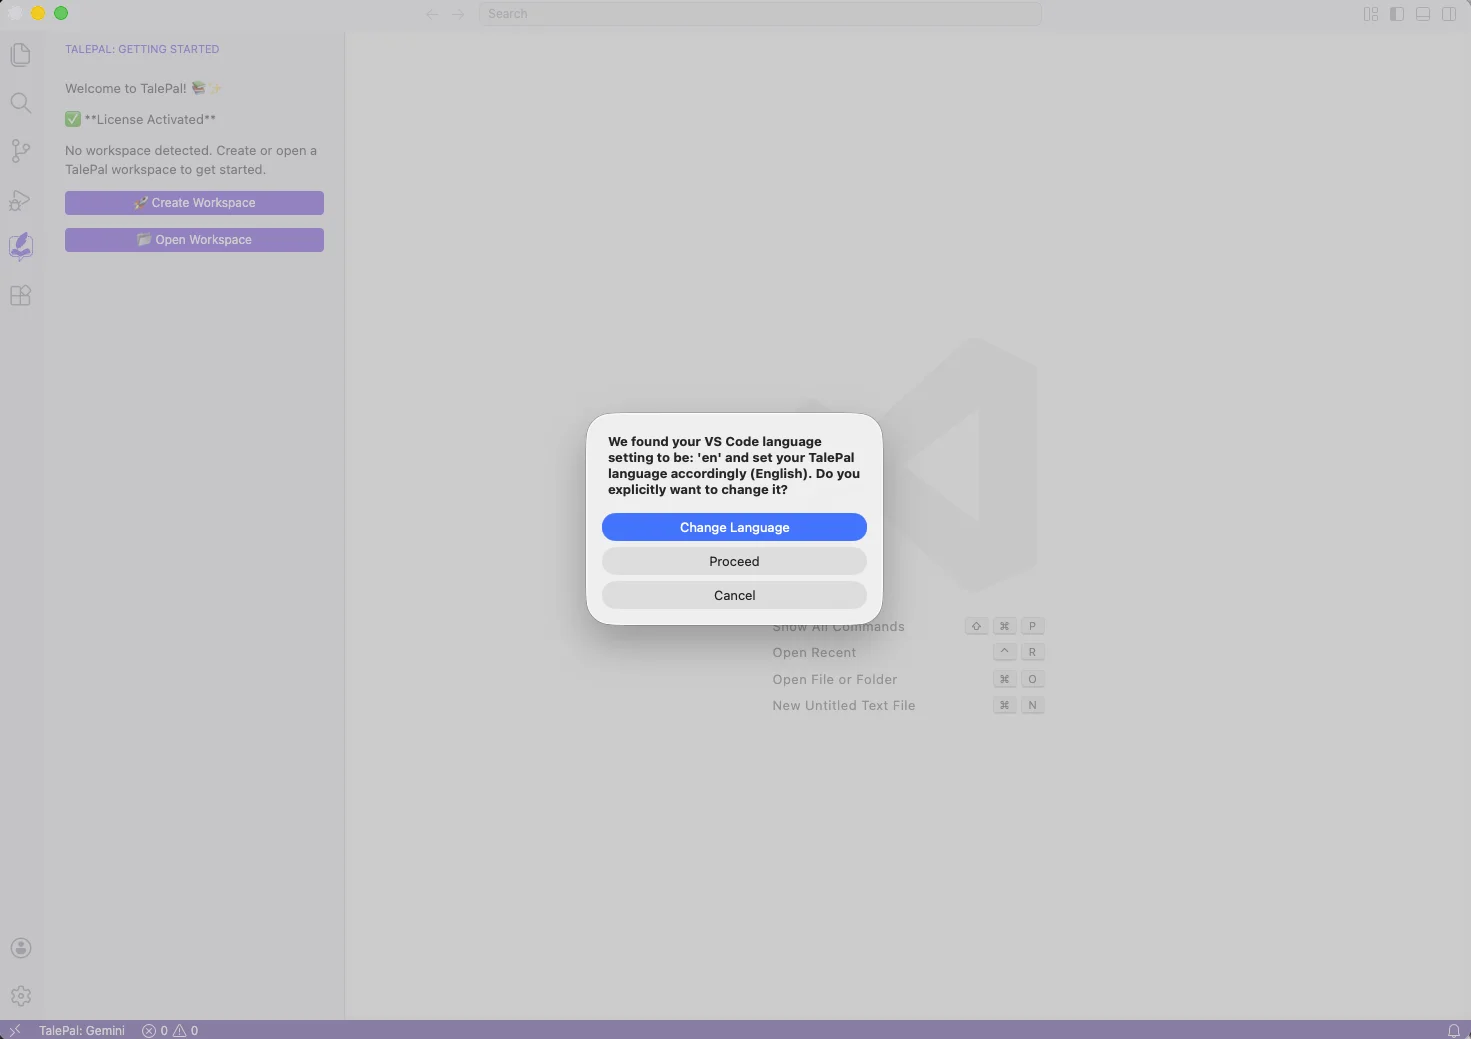
TalePal detects your VS Code language and asks whether to match it. Choose the language your story will be written in.
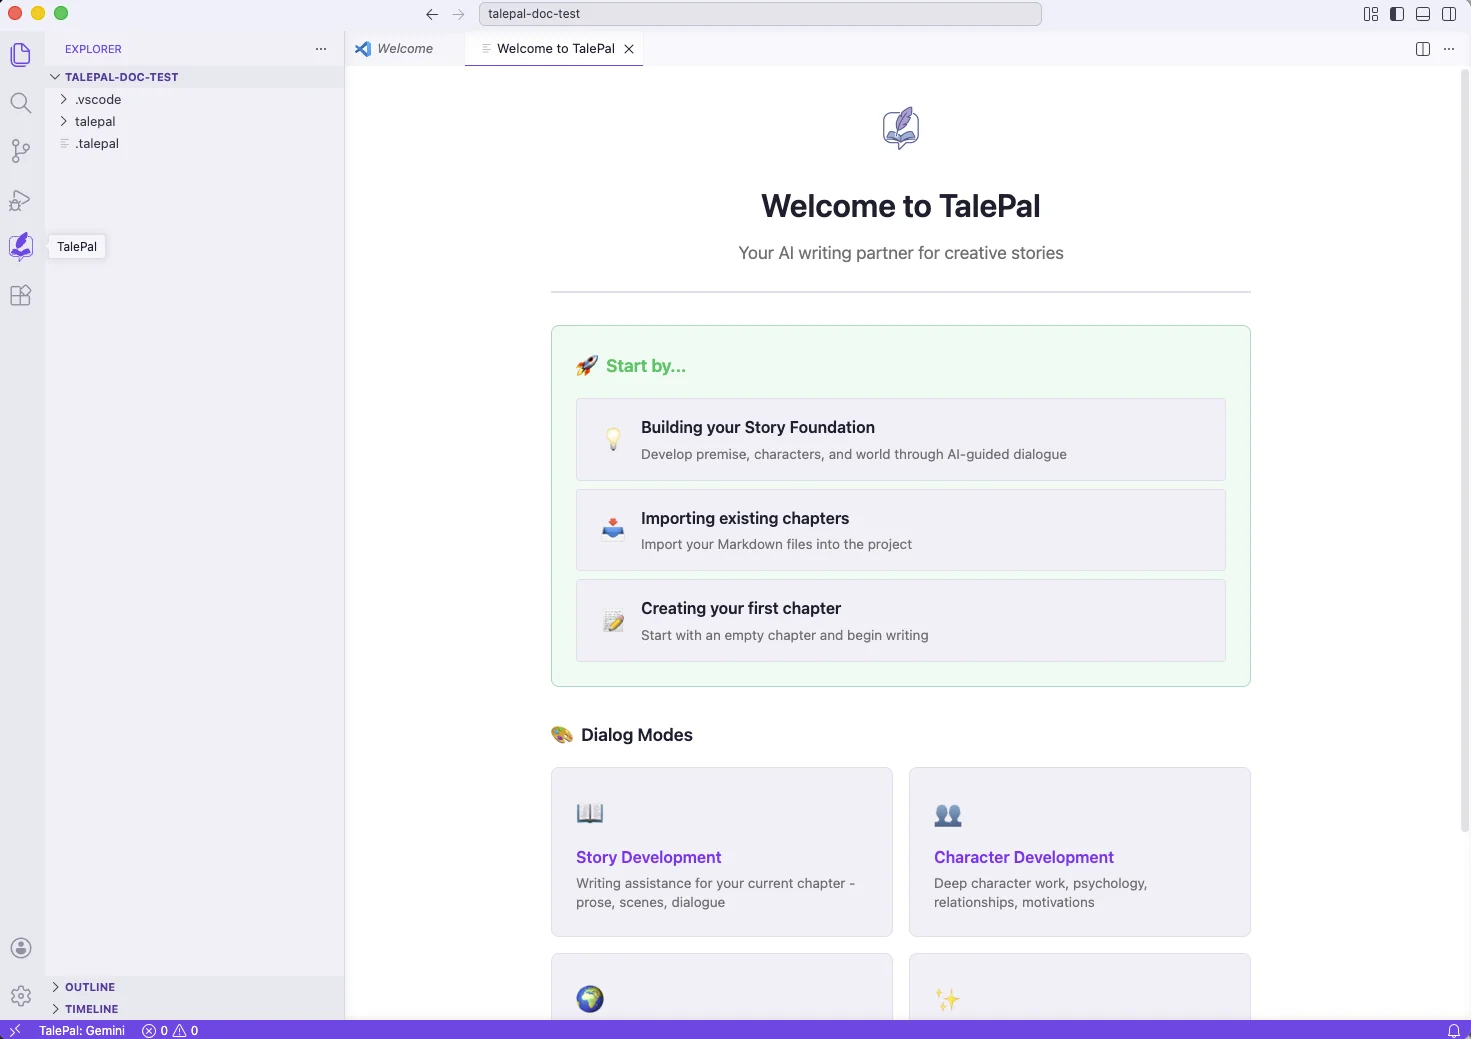
4. Your workspace is ready
After creating the workspace, TalePal opens with:
- Welcome to TalePal — the getting-started panel with quick actions
- TalePal sidebar (left) — Story/Chapters, Story Context, Worldbuilding tree views
- ChatUI (right sidebar) — your AI writing partner, ready to chat
The full layout with all panels visible:
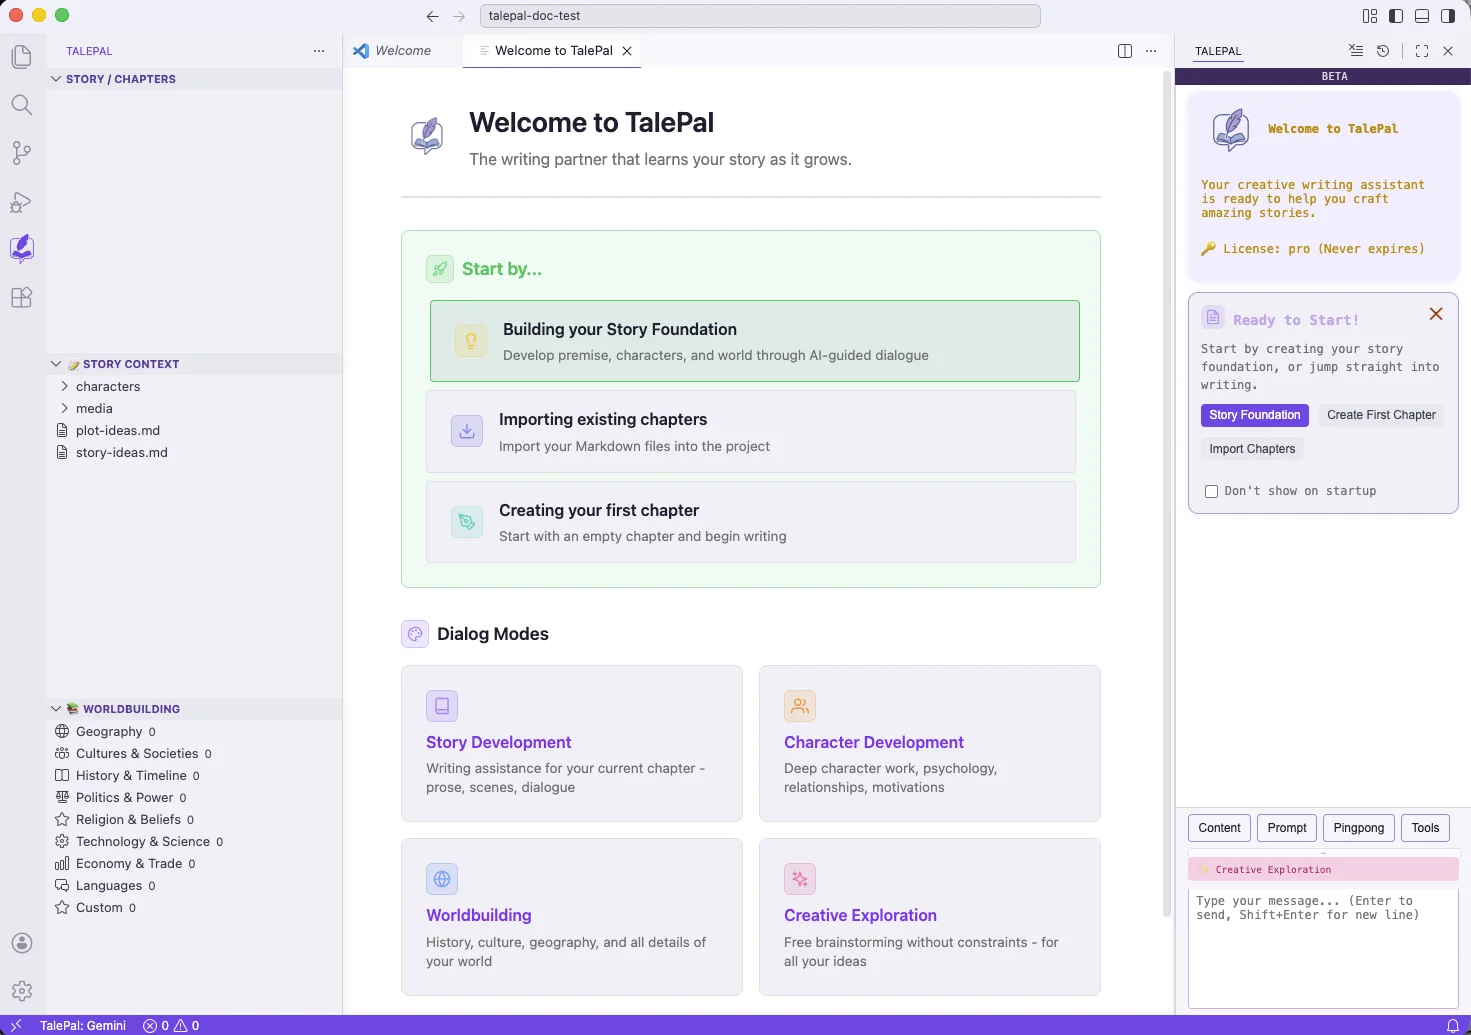
What's in the workspace?
TalePal created this folder structure for you:
your-project/
  .talepal              ← workspace marker
  .vscode/              ← VS Code settings
  talepal/
    chapters/           ← your chapter files go here
    context/
      characters/       ← character profiles
      media/            ← images, cover art
      worldbuilding/    ← world entries (auto-organized by category)
      plot-ideas.md     ← your plot scratchpad
      story-ideas.md    ← your story ideas
    .features/          ← analysis data (managed by TalePal)
You write in talepal/chapters/. Everything else is managed by TalePal or editable through the sidebar.
Next steps
From the welcome screen, choose your starting point:
- Building your Story Foundation — define your premise, characters, and world before writing
- Importing existing chapters — bring in Markdown files you've already written
- Creating your first chapter — start with an empty chapter and write
Or explore the Dialog Modes (Story, Character, Worldbuilding, Creative) to start a conversation with your AI writing partner.
Next: Writing Day One — set up your foundation and write your first chapter.